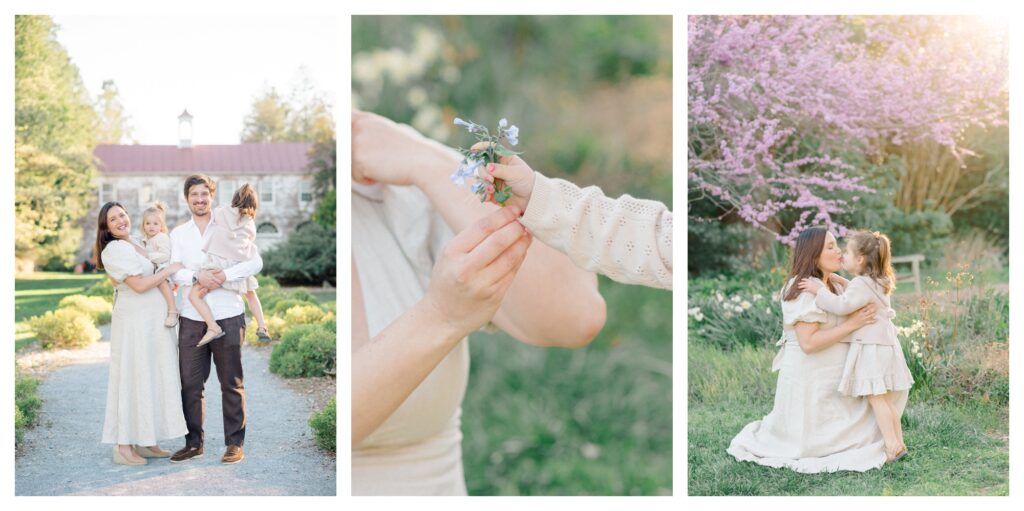
There I was, staring at my screen, feeling an overwhelming mix of frustration and confusion. My photos, which held so much potential, looked flat and lifeless, and I just couldn’t figure out how to make them shine. I had dabbled in editing, tinkering with sliders and trying out countless Lightroom presets, but nothing seemed to align with the vision I had in my heart. It felt like the more I learned, the more lost I became—like I was on a never-ending quest for the perfect edit without truly understanding how to use Lightroom presets in the first place. Let’s dive right in and unravel the beautiful magic editing with presets!
What Are Lightroom Presets?
Lightroom presets are like magical shortcuts for your editing process. They are pre-defined adjustments that you can apply to your photos with just a click, instantly transforming your images to achieve a desired look or feel. Think of presets as a collection of editing recipes that enhance colors, contrast, and tones based on specific settings you’ve chosen or created. This makes them incredibly useful for establishing a consistent style across your portfolio.
Now, let’s differentiate presets from profiles and Photoshop actions. Lightroom profiles adjust the overall color and tonal adjustments of your photo but don’t include the detailed tweaks that presets do. They create a foundational look but need to be paired with adjustments to really bring about the final image. On the other hand, Photoshop actions are a series of recorded steps that you can apply to your images in Photoshop. They can include multiple edits and even effects that go beyond what’s possible in Lightroom, but they don’t function within the Lightroom interface itself. Understanding these differences helps you choose the right tool for your creative vision!

Understanding the Benefits of Using Presets
Using Lightroom presets can truly transform your photography experience! One of the biggest perks is how they speed up the editing process. With just a click, you can breathe life into your photos, freeing up more time for what really matters—capturing those fleeting moments that fill our lives with joy. Whether it’s that contagious giggle from your little ones or the perfect golden light at a wedding, presets let you focus on the magic happening right in front of you, rather than getting lost in the nitty-gritty of editing.
Plus, presets are fantastic for creating a beautiful, cohesive look throughout your portfolio. This consistency is a game changer for branding! When your images have a unified style, it not only showcases your unique vision but also builds trust with clients who can clearly see what to expect when they choose you. In a world where first impressions count, a polished and harmonious portfolio can truly set you apart!
Choosing the Right Presets
Choosing the right Lightroom presets can feel like navigating a maze, especially with so many options out there! But don’t worry; I’ve got your back! First, think about your personal style and the aesthetic you want to convey. Are you drawn to bright, airy images that evoke a sense of joy? Or do you prefer rich, moody tones that tell a deeper story? It’s essential to explore preset packs that align with your vision, as this will save you time and help you create a cohesive look across your work.
Next, consider the versatility of each preset pack. Look for collections that cover multiple lighting situations, from bright sunny days to those dreamy golden hour moments, and even darker indoor settings. A comprehensive pack will allow you to feel confident that no matter the conditions, you’ll have the tools you need to create stunning images. As with any product, check reviews (the good and the bad) and reach out into photography communities to hear what others have to say about the presets you’re considering. FYI: You can request test edits with most preset creators!
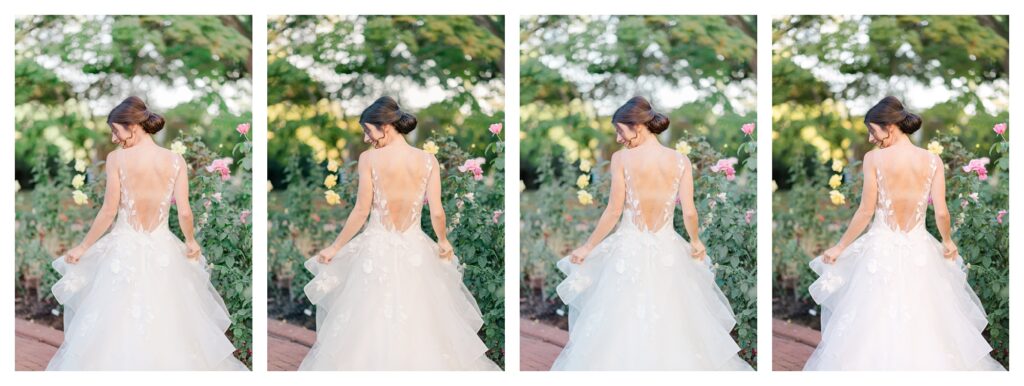
Different Preset Aesthetics
Here are some examples of versatile Lightroom presets that can adapt beautifully to different lighting situations:
- Bright & Airy Presets: Perfect for sunny outdoor sessions, these presets enhance natural light, giving your photos a fresh, clean look. They work wonderfully for family portraits, weddings, or any scene filled with laughter and sunshine.
- Golden Hour Presets: Designed to capture the enchanting glow of that magical time just before sunset, these presets warm up tones, enhance skin colors, and create a dreamy atmosphere, making them ideal for romantic portraits or sunset beach shots.
- Moody & Dramatic Presets: These are fantastic for low-light environments or indoor settings. They enrich shadows and add depth, perfect for capturing the intimate moments of a cozy family gathering or the elegance of a candlelit dinner.
- Neutral & Balanced Presets: A great go-to for mixed lighting conditions, these presets help maintain color integrity and create a cohesive look in your images, making them suitable for events like weddings where lighting can vary from bright to dim.
By having a selection of these versatile presets, you’ll be ready to tackle any lighting challenge that comes your way!
How to Install Lightroom Presets
Installing Lightroom presets is easier than you might think! Follow these simple steps to get started:
- Download Your Presets: After purchasing or obtaining your presets, download the zip file to your computer. If it’s zipped, make sure to extract the files before proceeding.
- Open Lightroom: Launch Adobe Lightroom on your computer.
- Go to the Develop Module: In the top right corner, click on “Develop” to switch to the editing mode where you’ll be applying your presets.
- Access the Preset Panel: On the left side of the screen, locate the “Presets” panel. If you don’t see it, expand it by clicking on the triangle next to “Presets.”
- Import Presets: Right-click on the “User Presets” folder (or any folder where you’d like to add your new presets) and select “Import.” A file browser window will pop up.
- Select Your Presets: Navigate to the location where you extracted your preset files. Select the .xmp or .lrtemplate files (depending on your version of Lightroom) and click “Import.”
- Enjoy Your Presets: Once imported, your new presets will appear in the Presets panel, ready for you to use! Simply click on a preset to apply it to your selected photo.

Editing Tips : How to Use Lightroom Presets
Editing with presets is such an exciting journey, and I want to encourage you to dive in and truly experiment! Don’t be afraid to play around with different presets and get to know your Lightroom panels inside and out. Familiarize yourself with each button and slider; understanding how they affect your image is key to unlocking your creative potential.
Making Adjustments
Start by making basic adjustments like exposure, contrast, and clarity. These foundational tweaks can help enhance the effect of your preset. Pay special attention to white balance; it can dramatically change the mood of your photo. Use reference images to compare your in-progress edits to ensure you’re heading in the right direction. Having a clear vision of your desired end result will guide your adjustments, and remember that tweaking and refining your edits according to different lighting situations is part of the magic.
It’s important to note that while presets can elevate your images, they work best with photos taken in good quality light. Presets can enhance great shots, but they won’t fix poorly captured images. Trust me, I’ve tried (a lot). So, always strive to shoot in the beset quality and quantity of light you can manage!
Overcoming Common Challenges
Let’s talk about the not-so-fun side of editing—those pesky challenges that can sneak up on even the most seasoned photographers! Over-processing is a common pitfall; it’s all too easy to get carried away with sliders, trying to make your images look perfect. Remember, sometimes less is more! Give yourself permission to step back and really evaluate your work.
Another crucial tip is to take breaks during your editing sessions. Your eyes need time to rest and reset, especially if you’ve been staring at a screen for too long. Editing in a poorly lit room can also lead to mistakes—whether it’s too bright or too dark, you might miss important details or color shifts. Try to create a comfortable, well-lit workspace to keep your edits true to life.
And don’t forget about reference images! They’re a lifesaver for keeping your edits in check. It’s easy to lose perspective on your own work; having a similar image to compare against can help you avoid going overboard. Trust me, a little discipline in your editing process goes a long way!
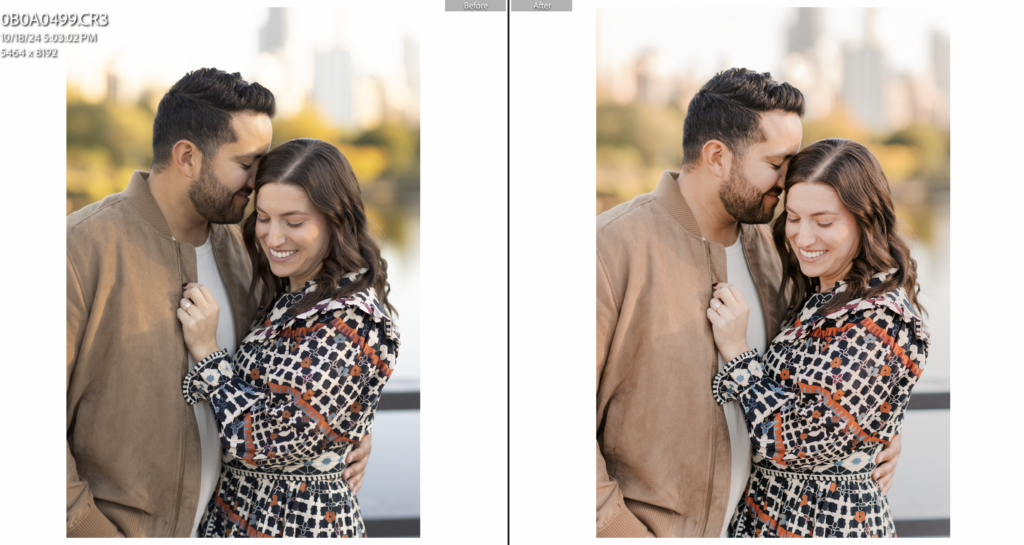
And there you have it! By embracing the journey of learning how to use Lightroom presets, you’ll unlock a world of creative possibilities that will elevate your photography. Remember to experiment, make adjustments, and don’t shy away from challenges—each step is part of your growth as an artist. If you found this post helpful, I encourage you to check out my Editing page for more insights on private editing and mentoring for busy photographers. And don’t forget to showcase your stunning before-and-afters on Instagram; I’d love to see your transformations!
Hugs,
Shannon






+ COMMENTS
add a comment